Fast start
Step 1: Registration
To open an account in [FBM] PAY, contact the manager t.me/fbm_ivan in Telegram. He will ask you a few questions and then open access to your personal account.
We remind you that first-bills in our service are CATEGORICALLY forbidden. In case of violations your account will be immediately blocked.
Step 2: Issue an account
To issue an account (IBAN), go to section Accounts, All accounts and click on the “Issue account” button at the top of the workspace.

Think of a name for the account to be issued, type it in the appropriate field and click on “Issue” to issue the account.
You can issue as many IBAN's as you need. It's free.

Done! The new account will be instantly displayed in the list of accounts.
Step 3. Replenishment of balance
To top up your account balance, click on the “Top up balance” button in section Accounts, All accounts.

1) Select the account and the amount you want to fund it with
Minimum deposit amount $500
You can select up to 10 accounts at a time, then pay everything in one payment and the system will automatically spread the money across all the selected accounts
Once you have selected your account(s) and entered the amount, click on the “Continue” button to proceed to the next step of recharge.
2) Choose the USDT network that is convenient for you

After selecting a network, tap "Continue".
3) Send the amount to the specified crypto wallet
Categorically forbidden make deposits from Garantex, Hydra and Tornado Cash crypto wallets. Payments received from such wallets will block your account with all funds with no possibility of refund.
After sending money to your wallet, paste the transaction hash into the field inside the window and click “Complete”.

Done! The money will be credited to your account balance(s) within 5-10 minutes (more often faster).

Step 4. Issuing the card
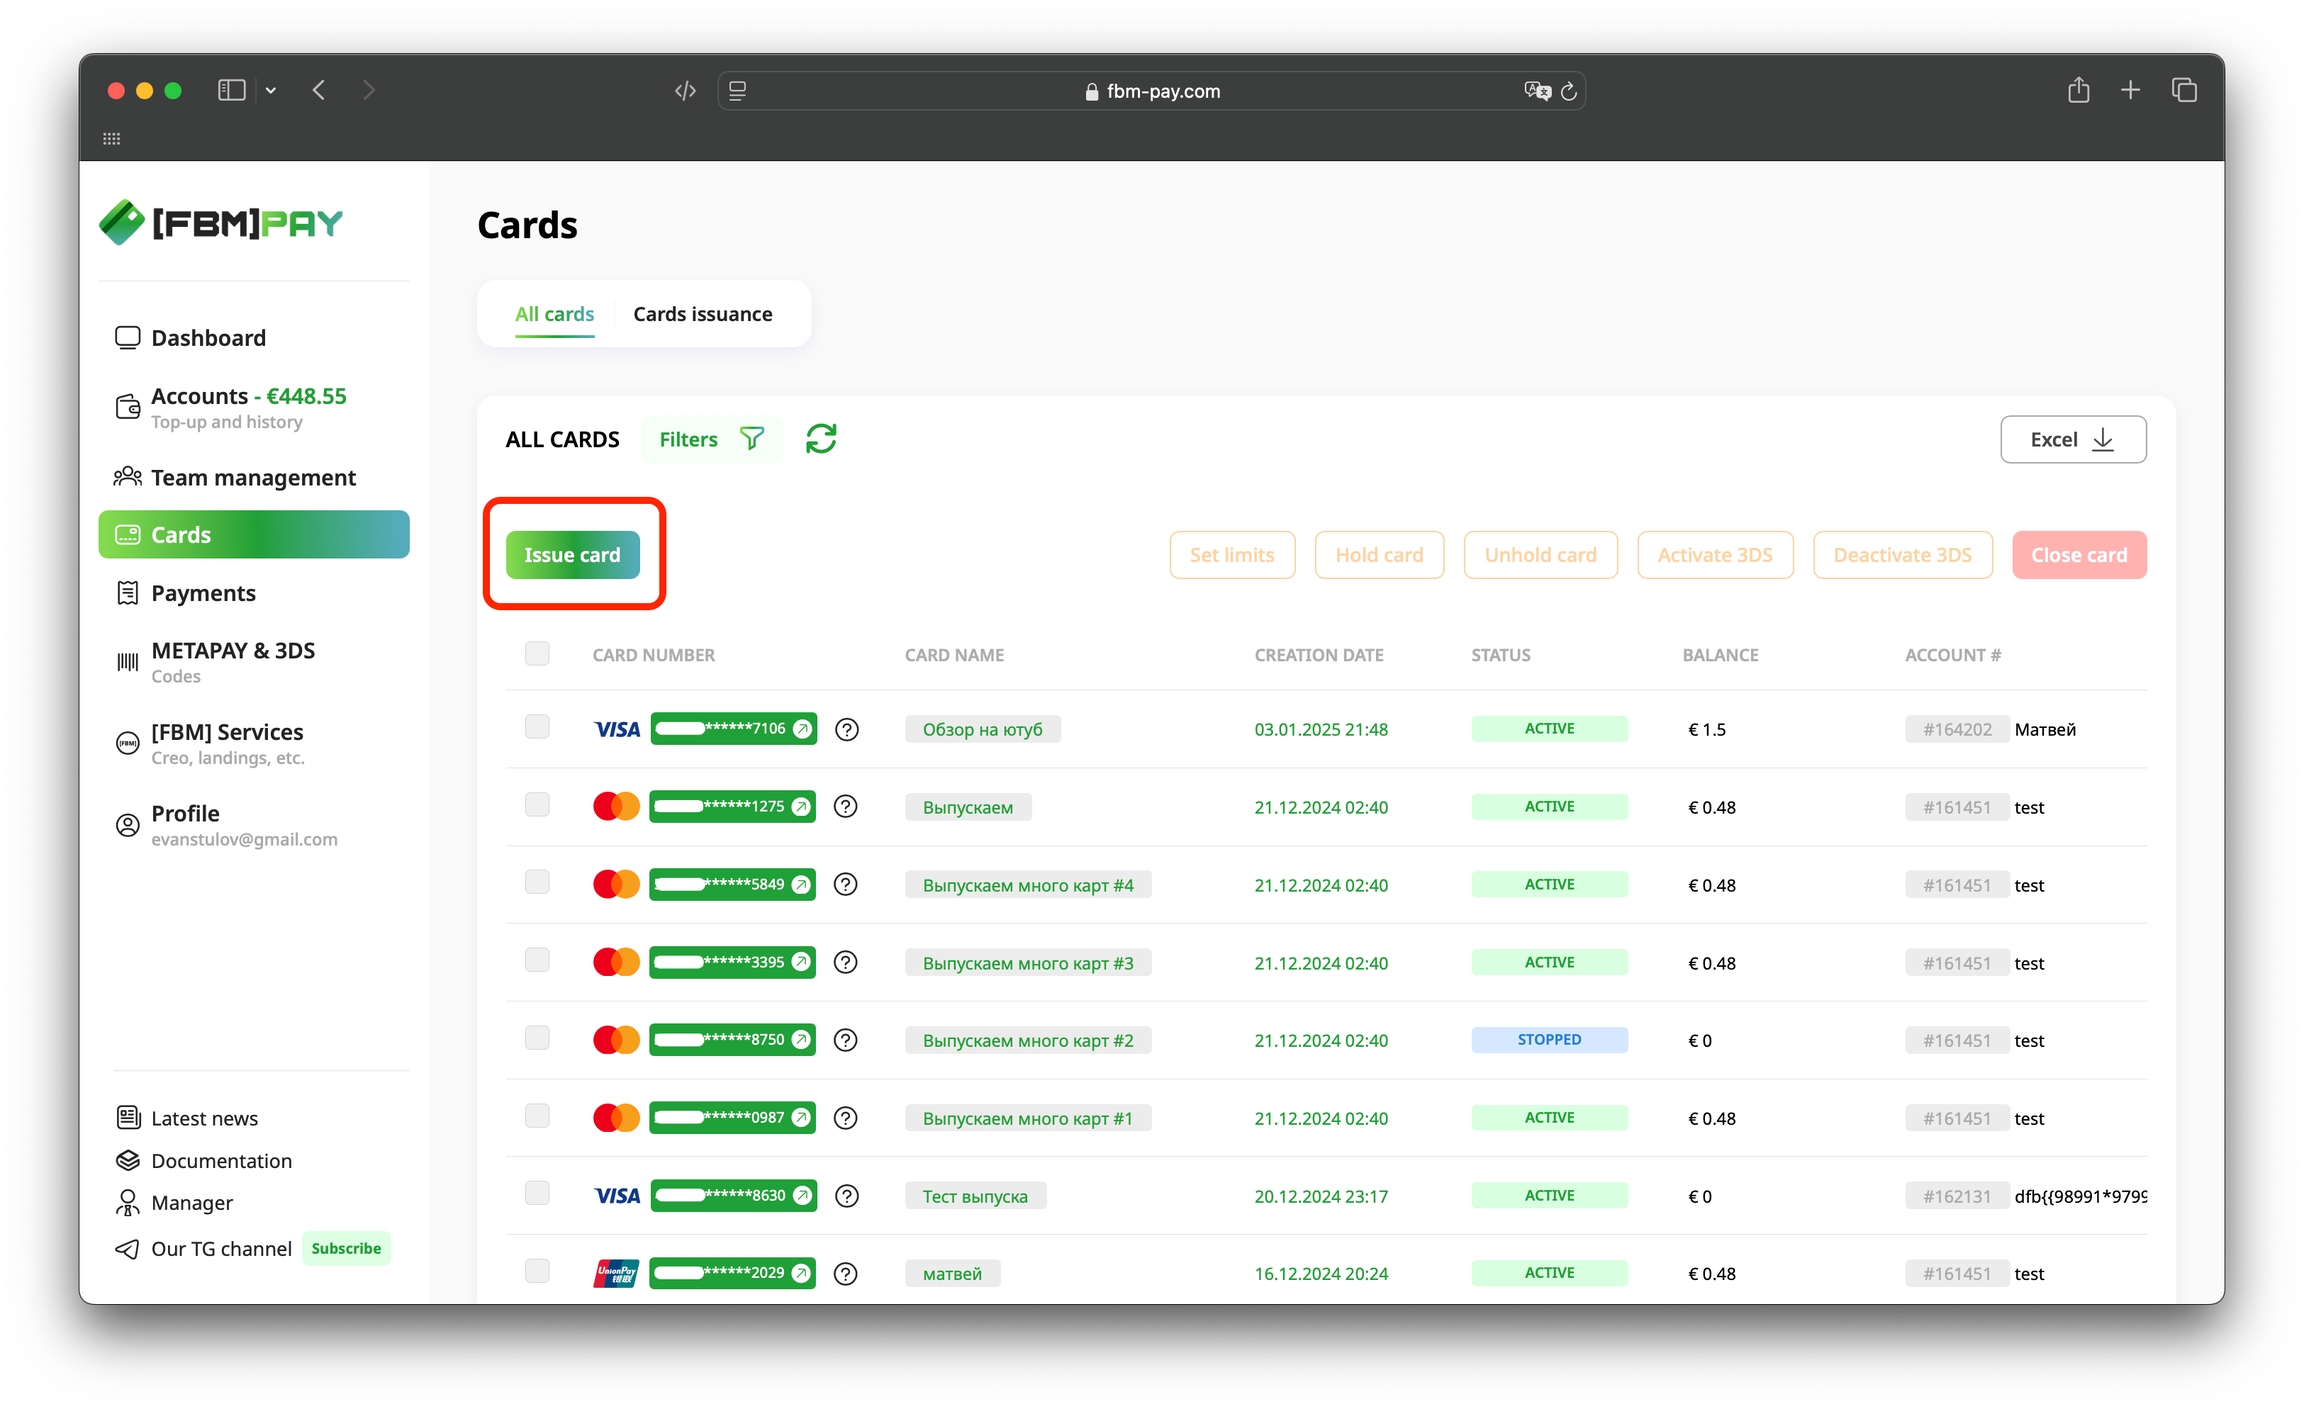
To issue a card, go to Cards and click on the button "Issue card".
After clicking on the button, the modal window of card issuance will open.
In it, you need to:
Enter the card name*
Select the desired bin*
Select the account to which the card will be attached*
Additional options:
You can immediately set a 30-day limit on the card (you can set limits for 1 and 7 days after the card is issued)
You can issue up to 10 cards of one BIN at a time. To do this, turn on the toggle switch "Issue multiple cards" then enter the required number of cards (maximum 10) in the field below. Payment for cards will be debited according to our price list .
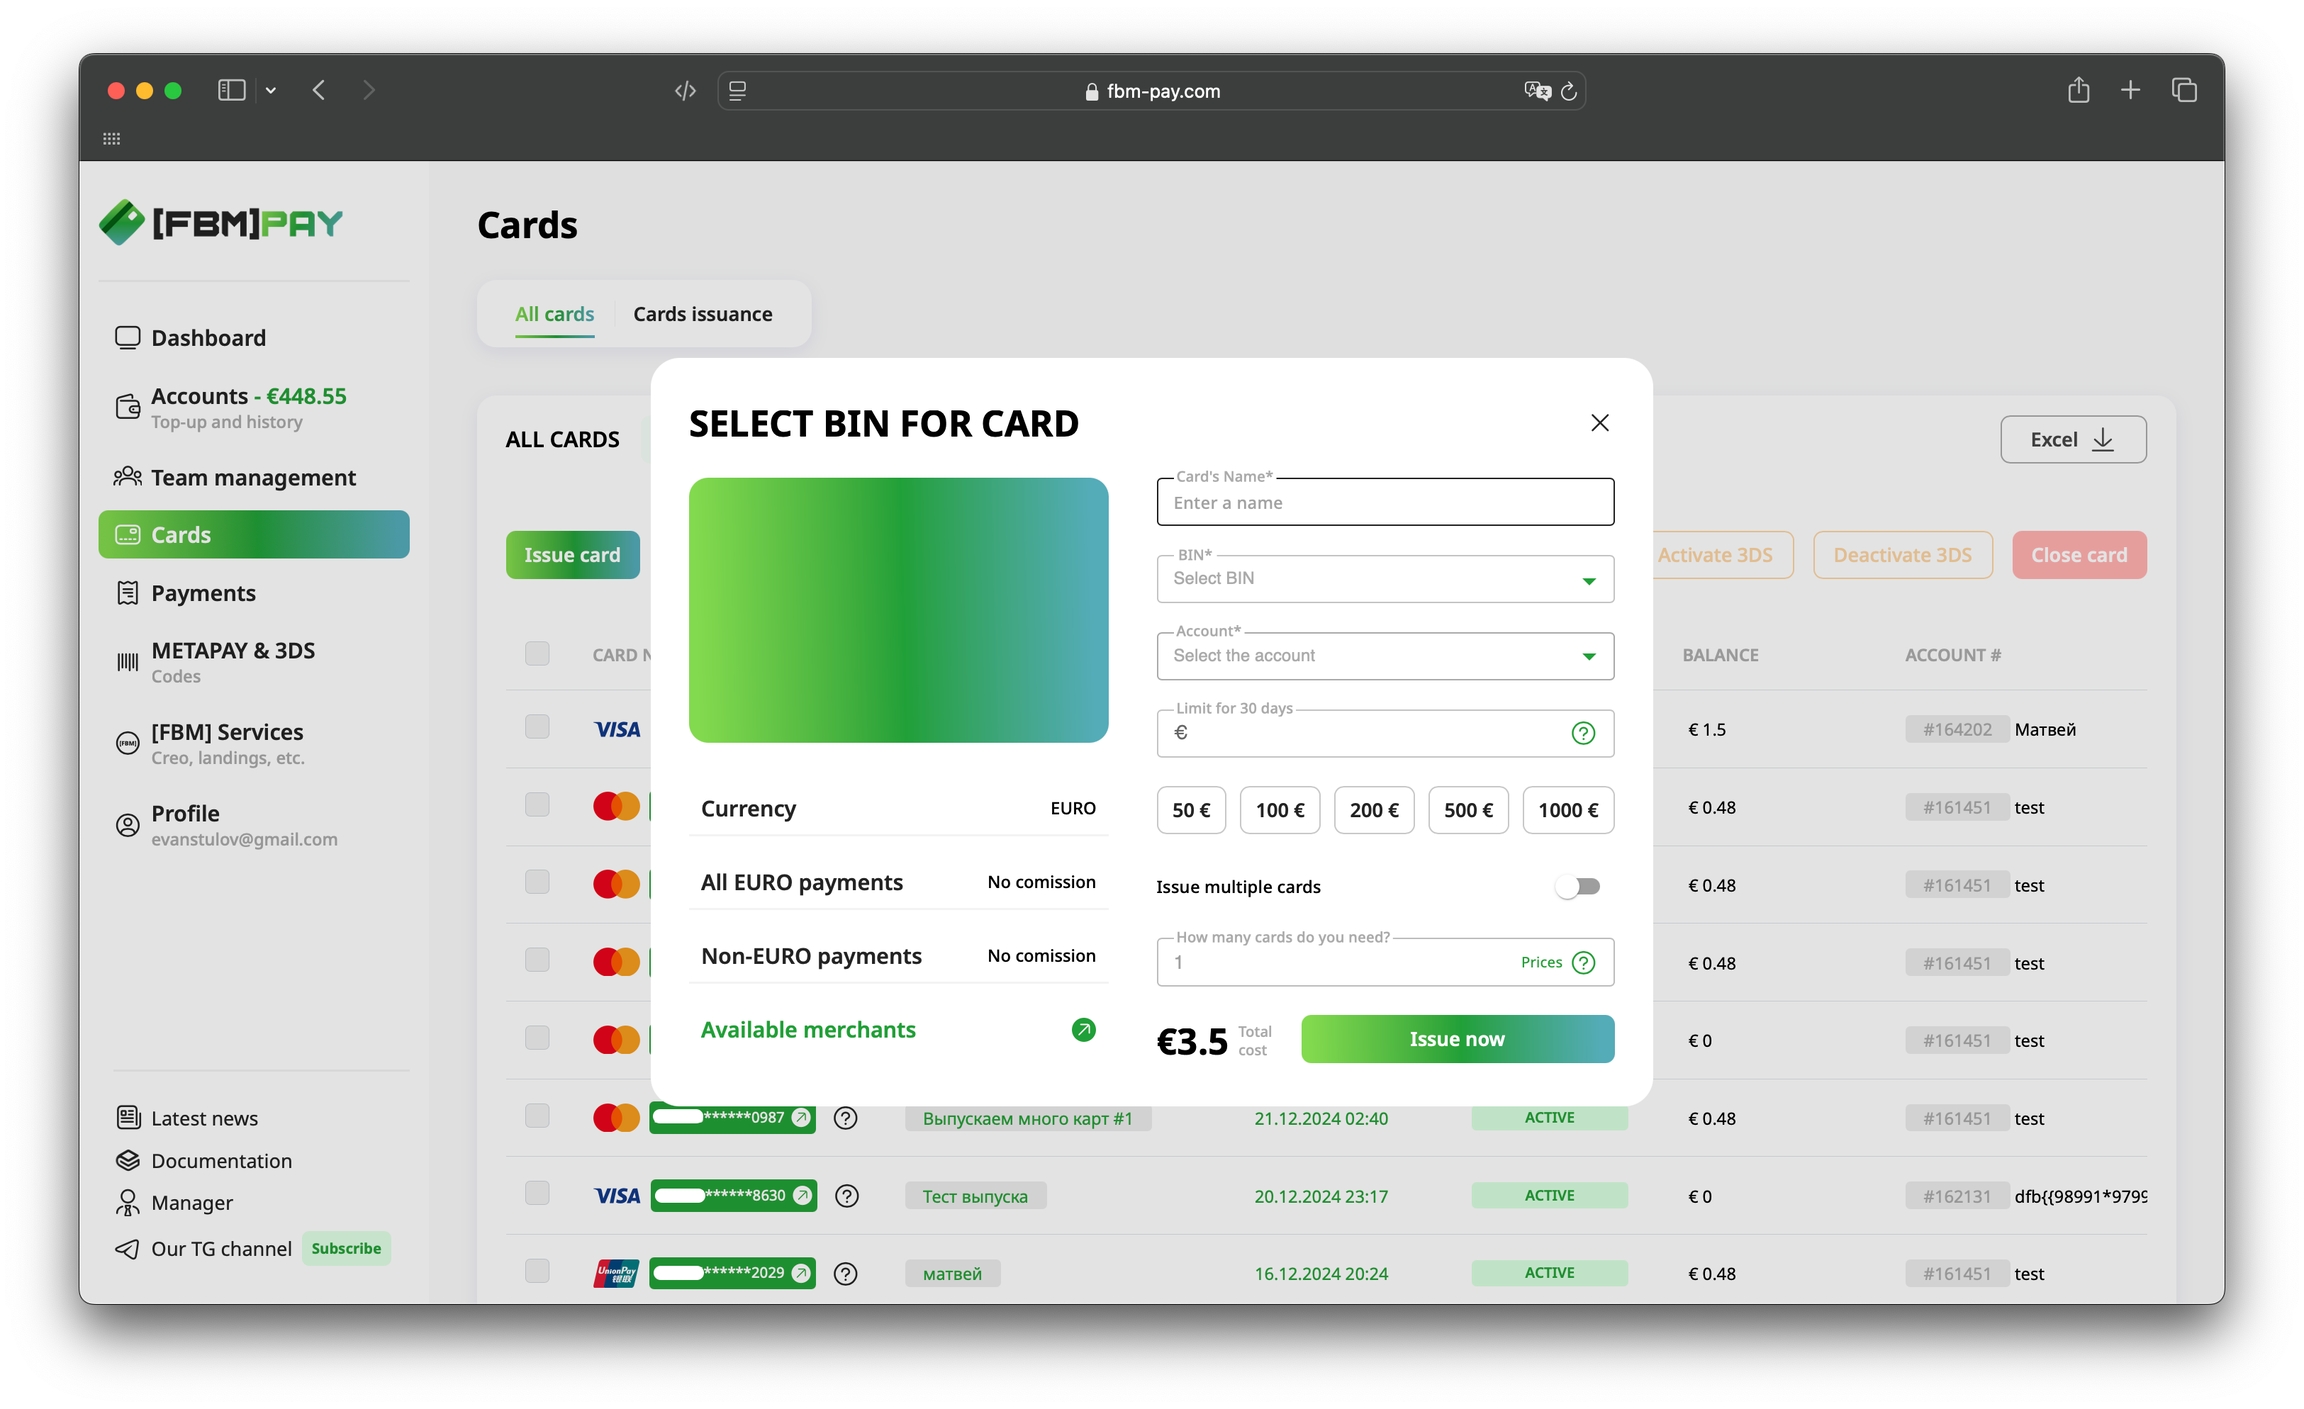
Once you have filled in all the required fields, click the “Issue now” button and complete the issuance process. The card will immediately appear in the list of available cards with the status “Pending”.

The card will become active within 3-5 minutes of issuance.

Done! The card is ready to go.
To copy data, go to Card details, by clicking on the number or name of the issued card.

Step 5: Linking the card
Our cards tie into a huge number of traffic sources, a full list can be found here.
The following shows the process of card linking using Facebook as an example, as the most popular traffic source.
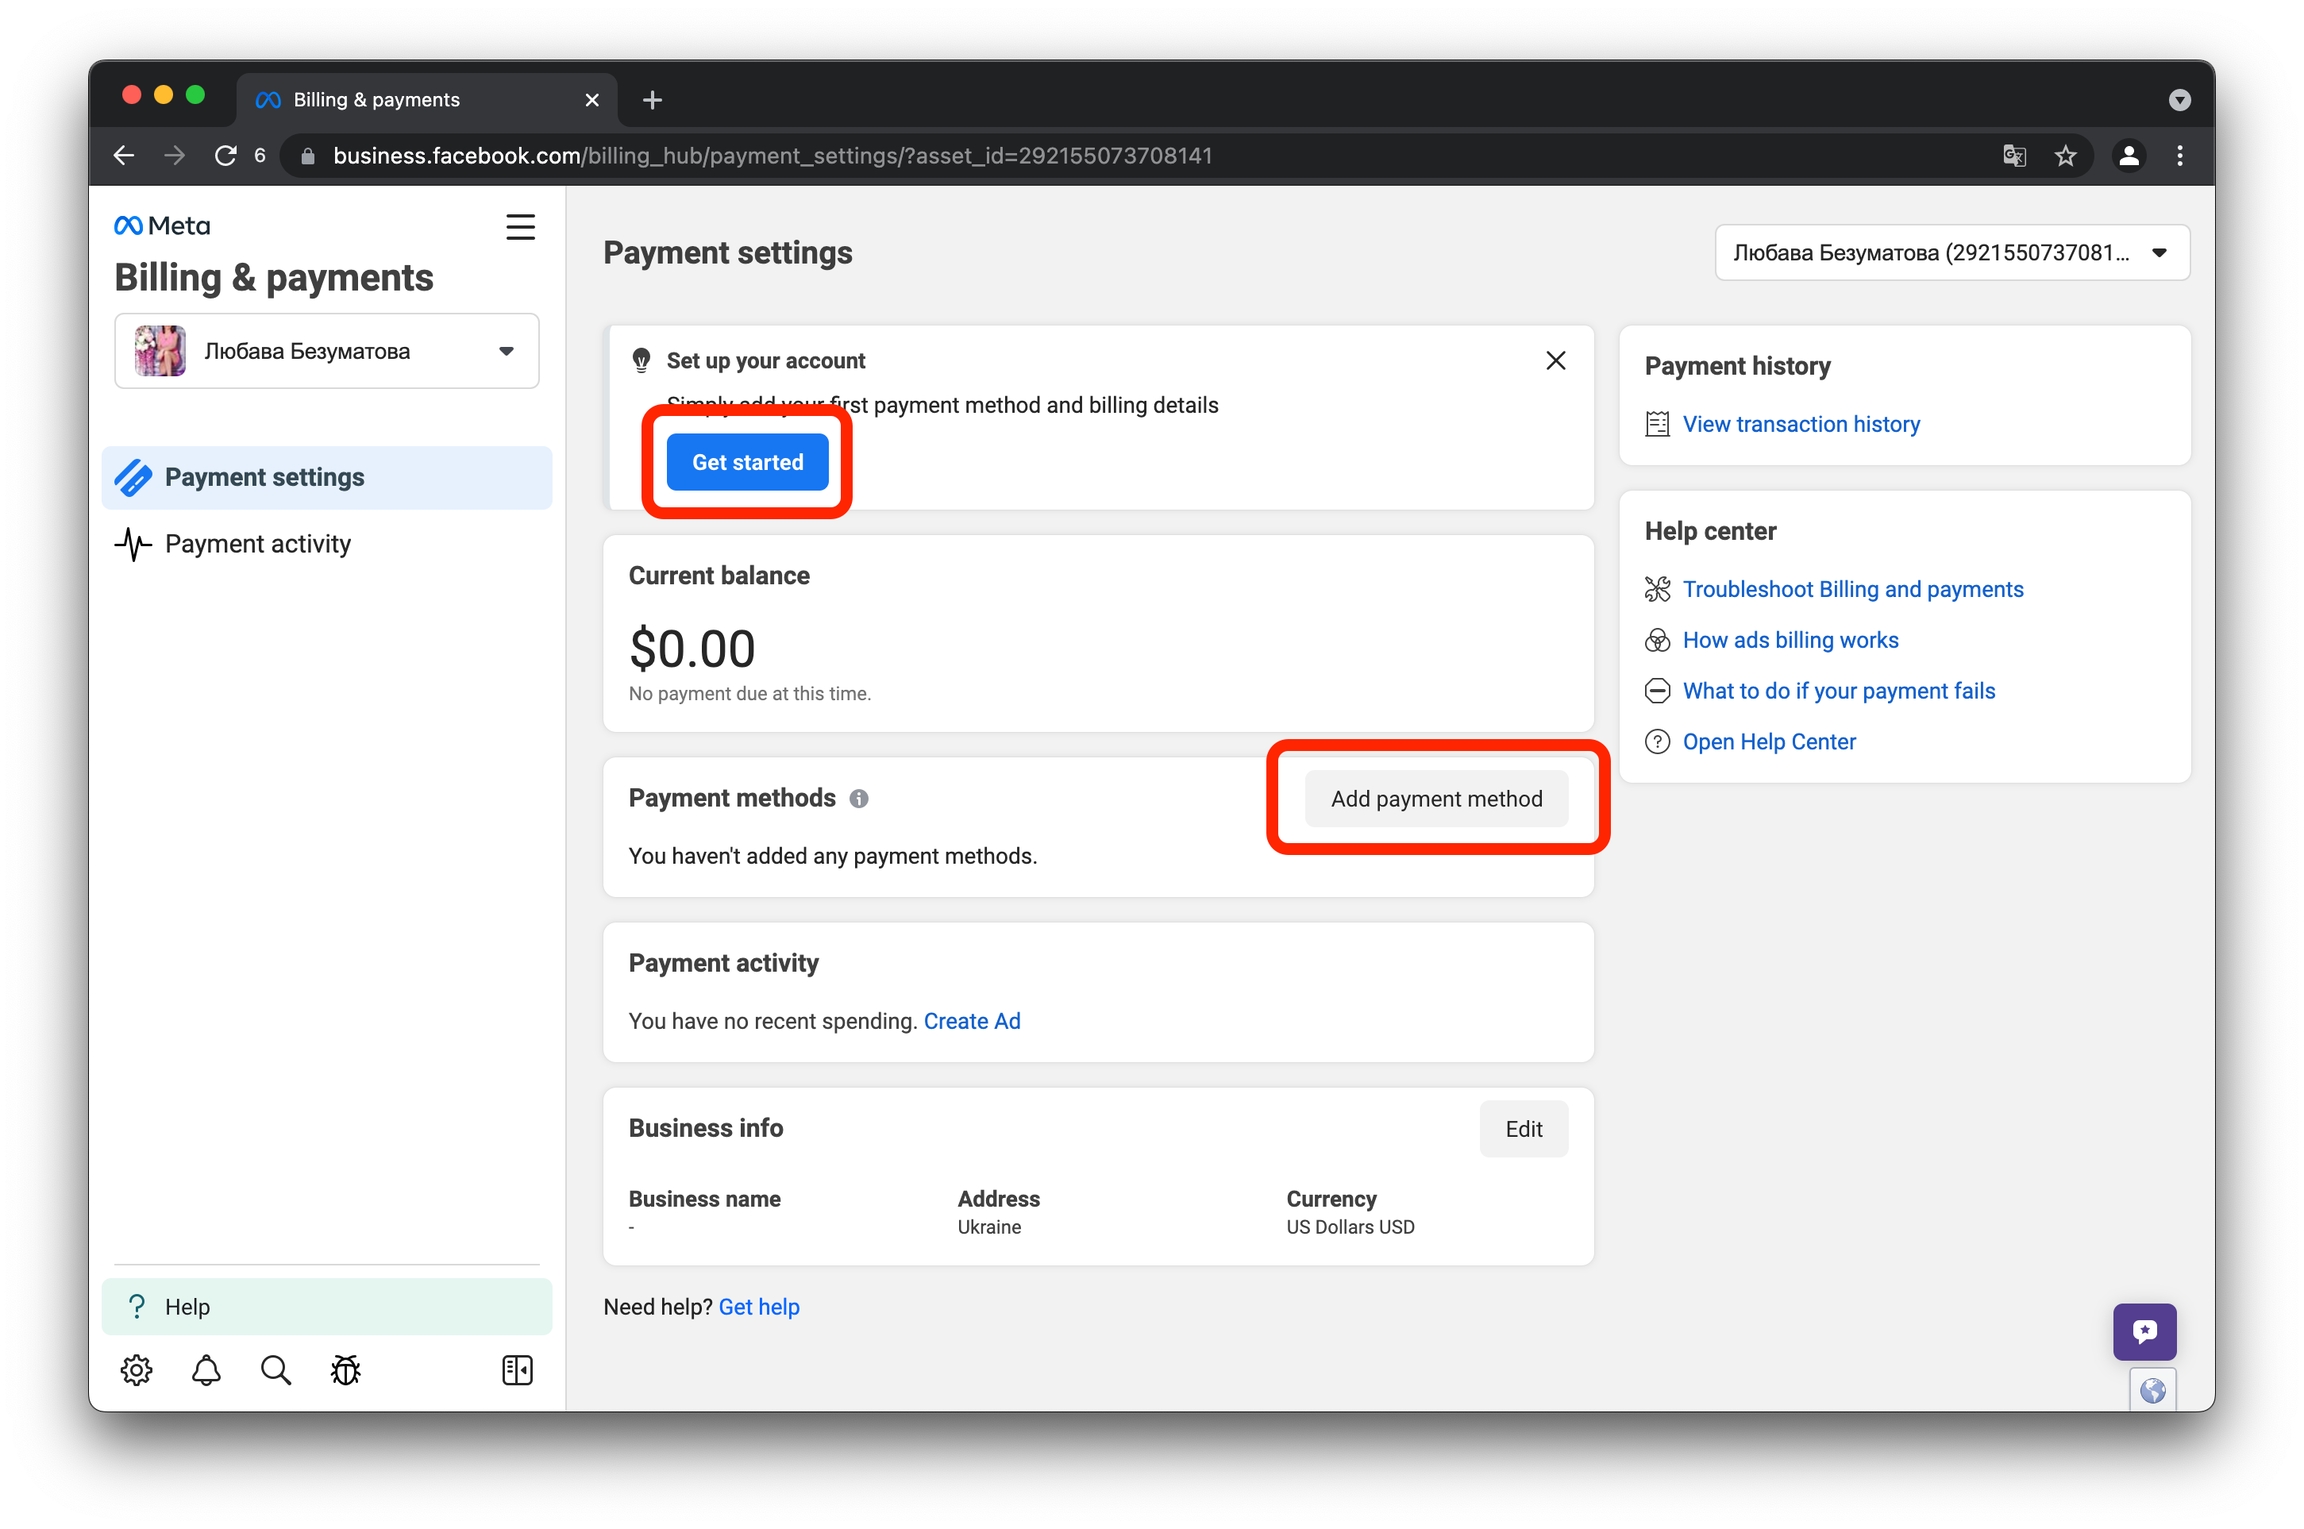
1) Go to Payment Settings of your FB account
Link: https://business.facebook.com/billing_hub/payment_settings
Click on "Get started" at the top of the page, or on "Add payment method" below.
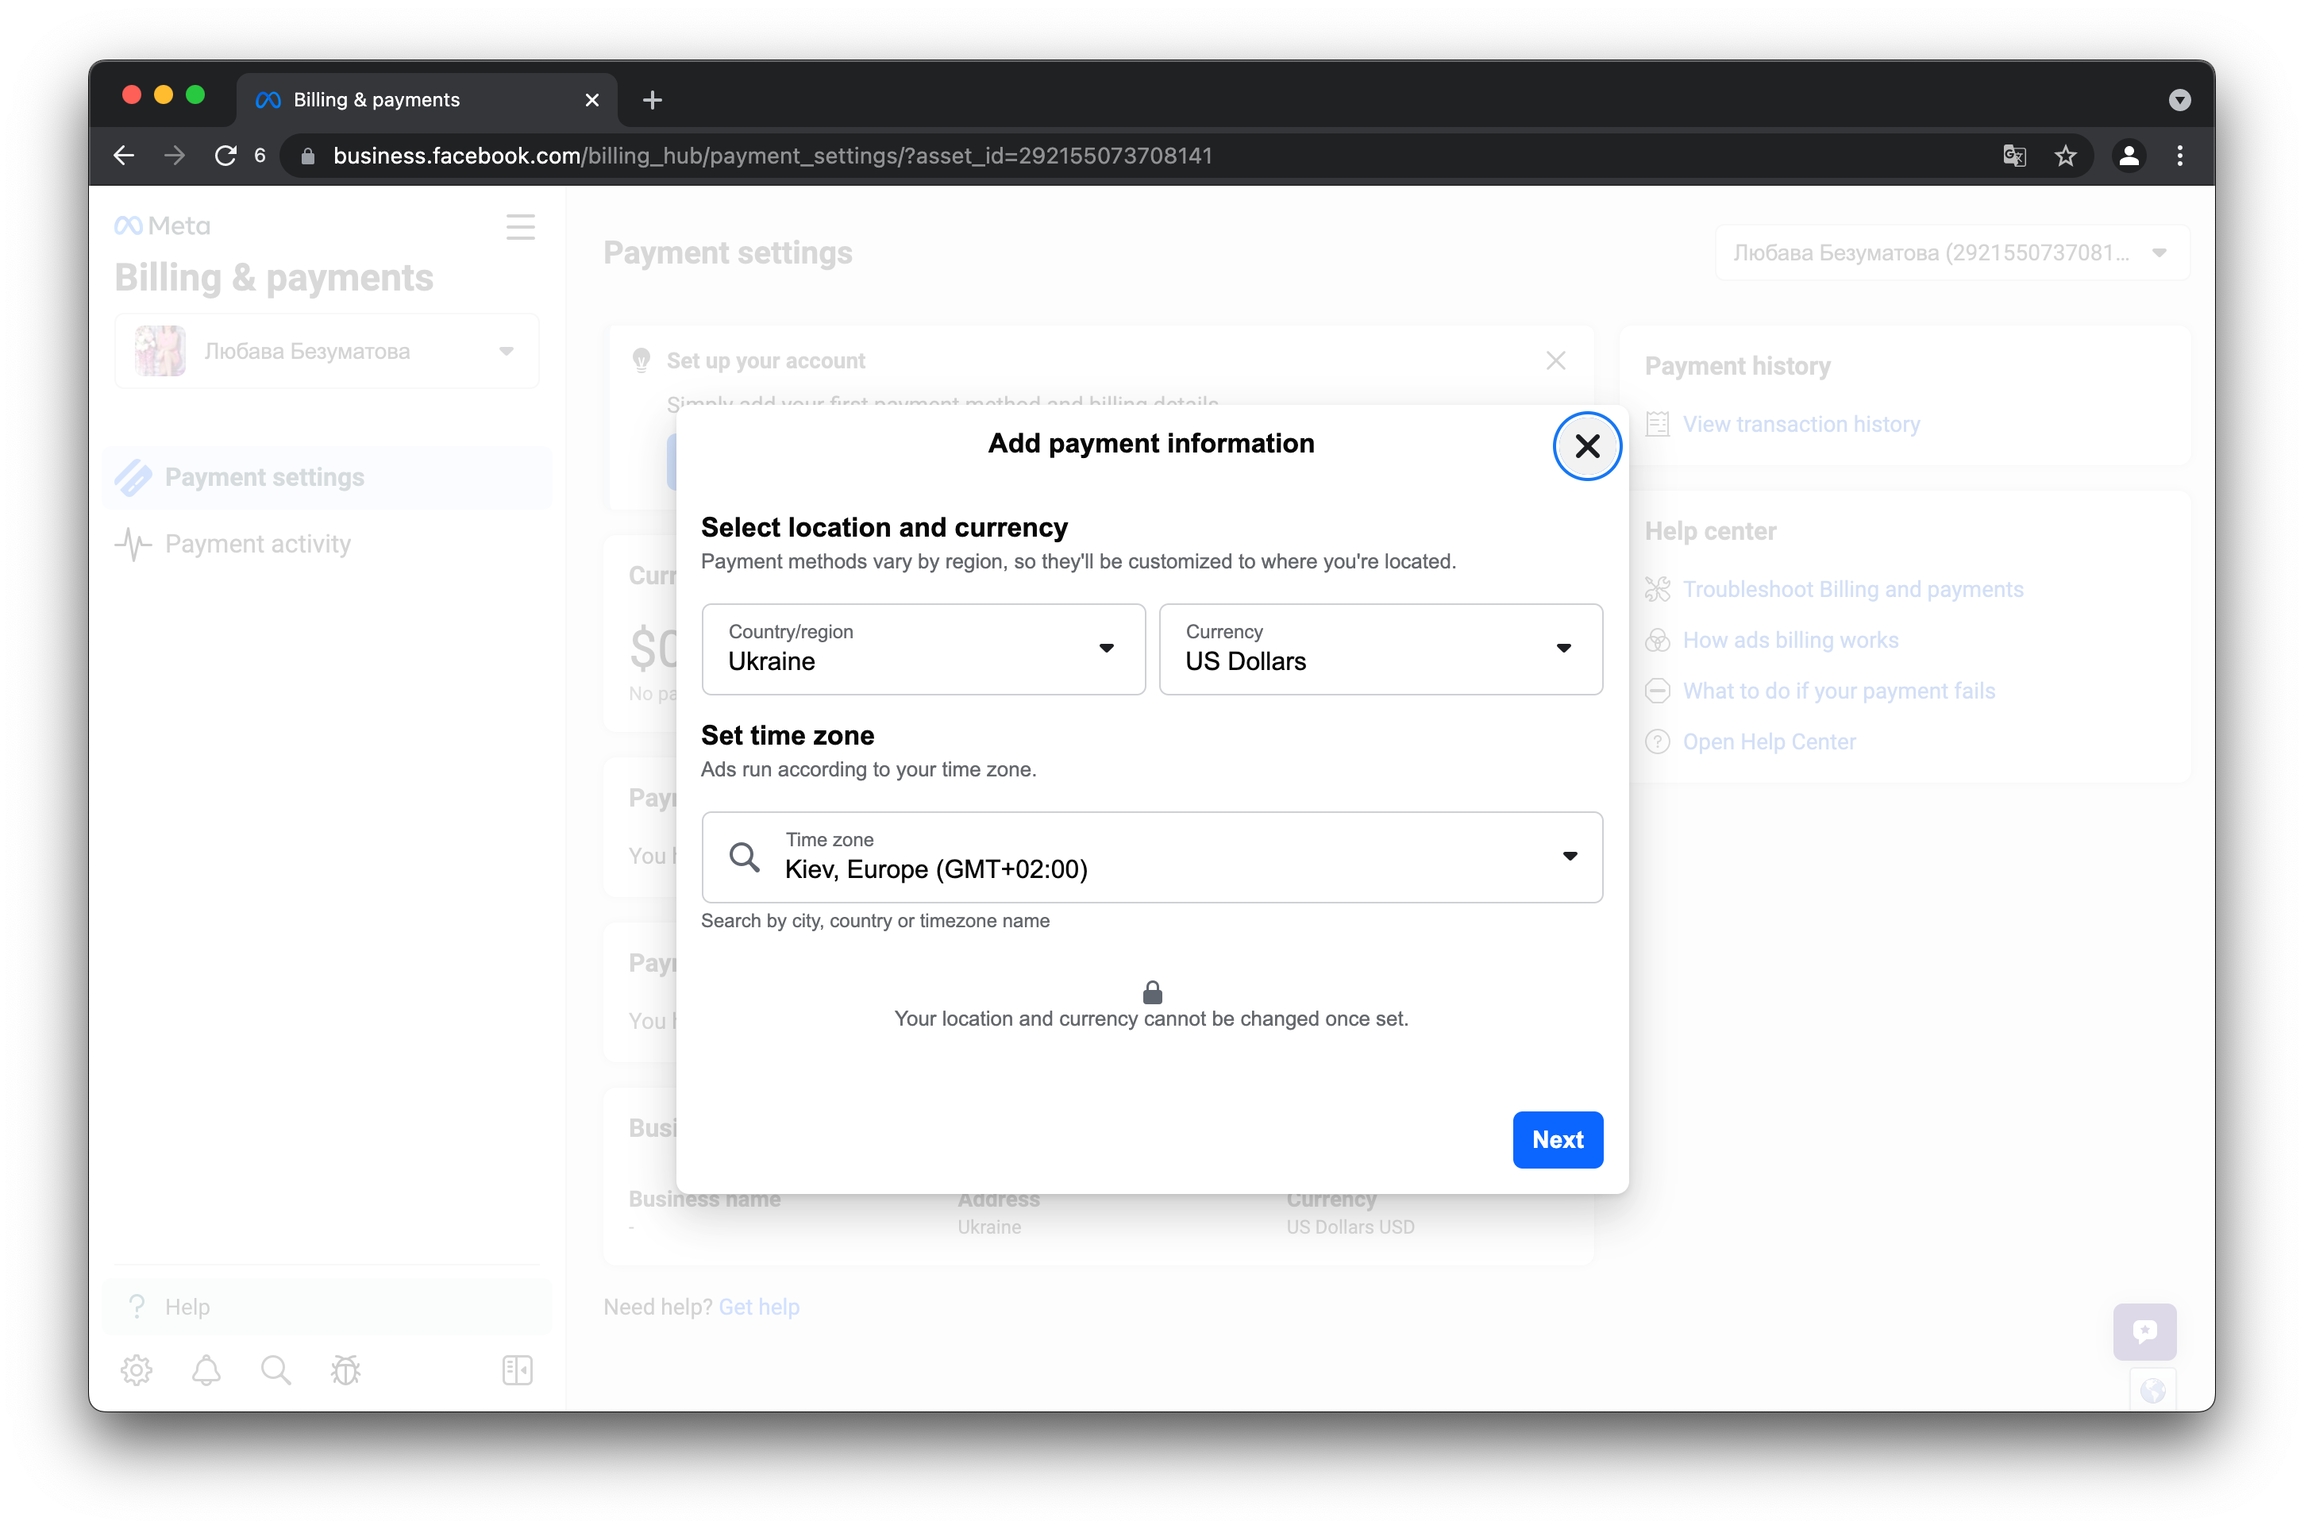
2) Select a country without VAT, currency, and time zone
You can choose any currency that suits you: euro, dollar, or any other currency.
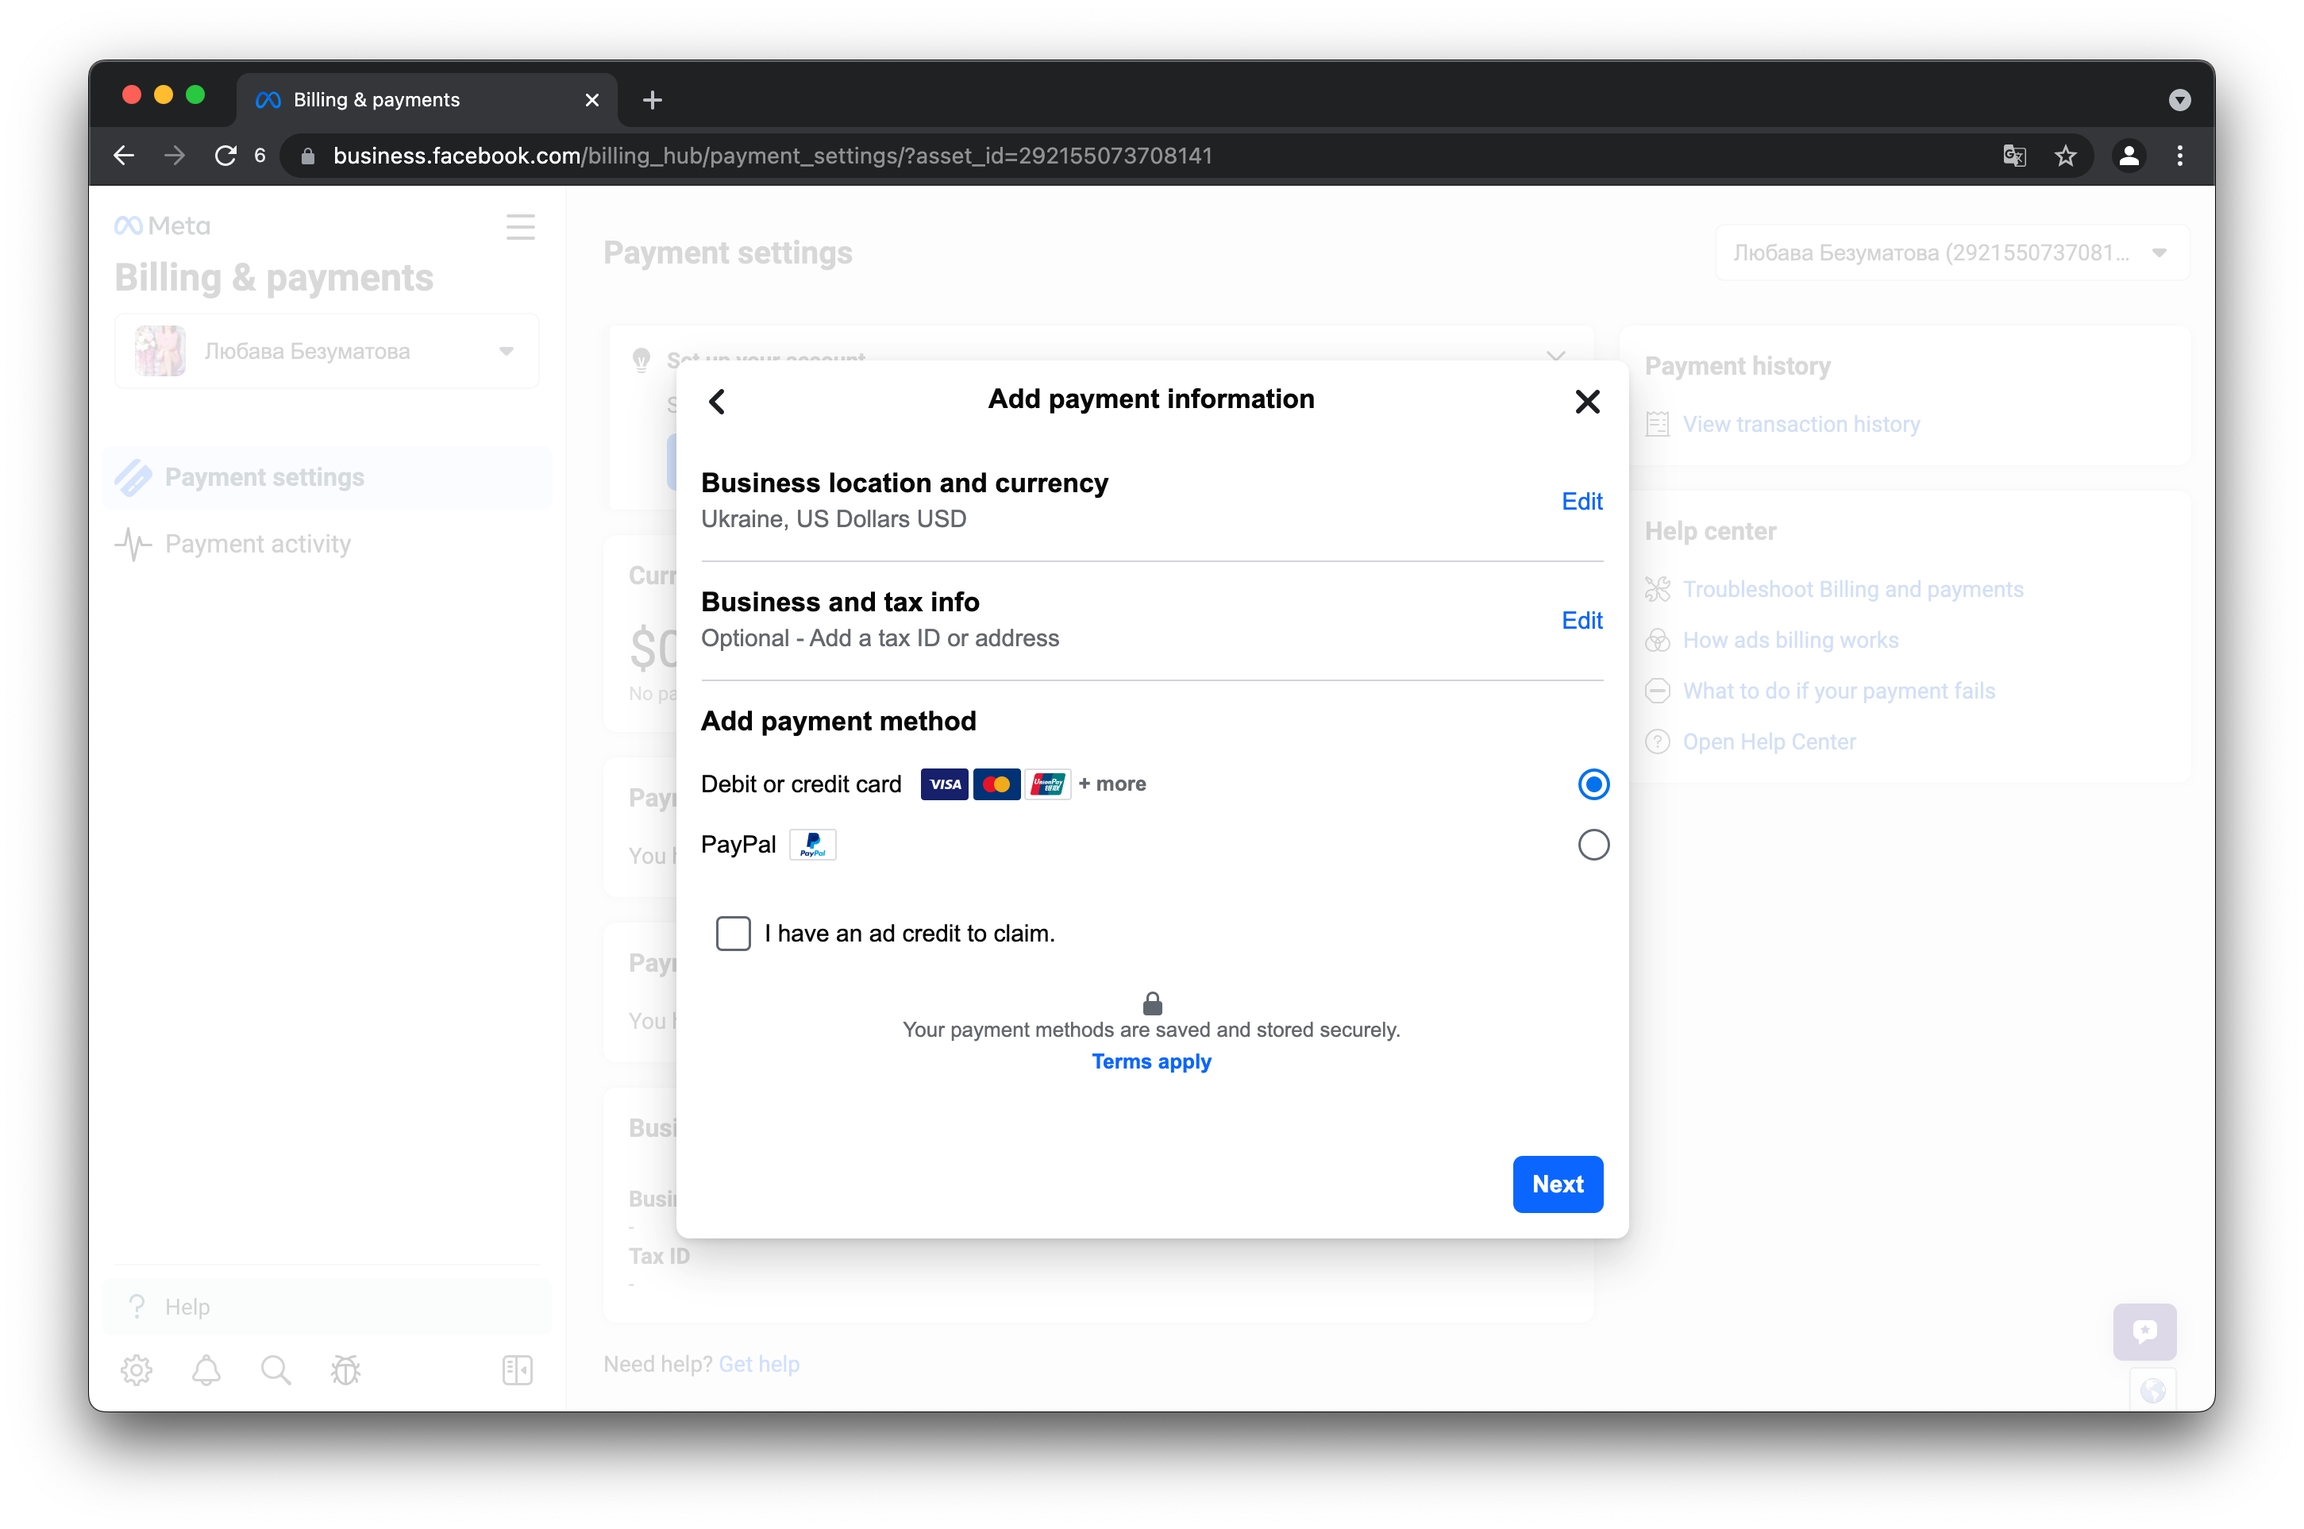
3) Select "Debit or credit card" and click on "Next"
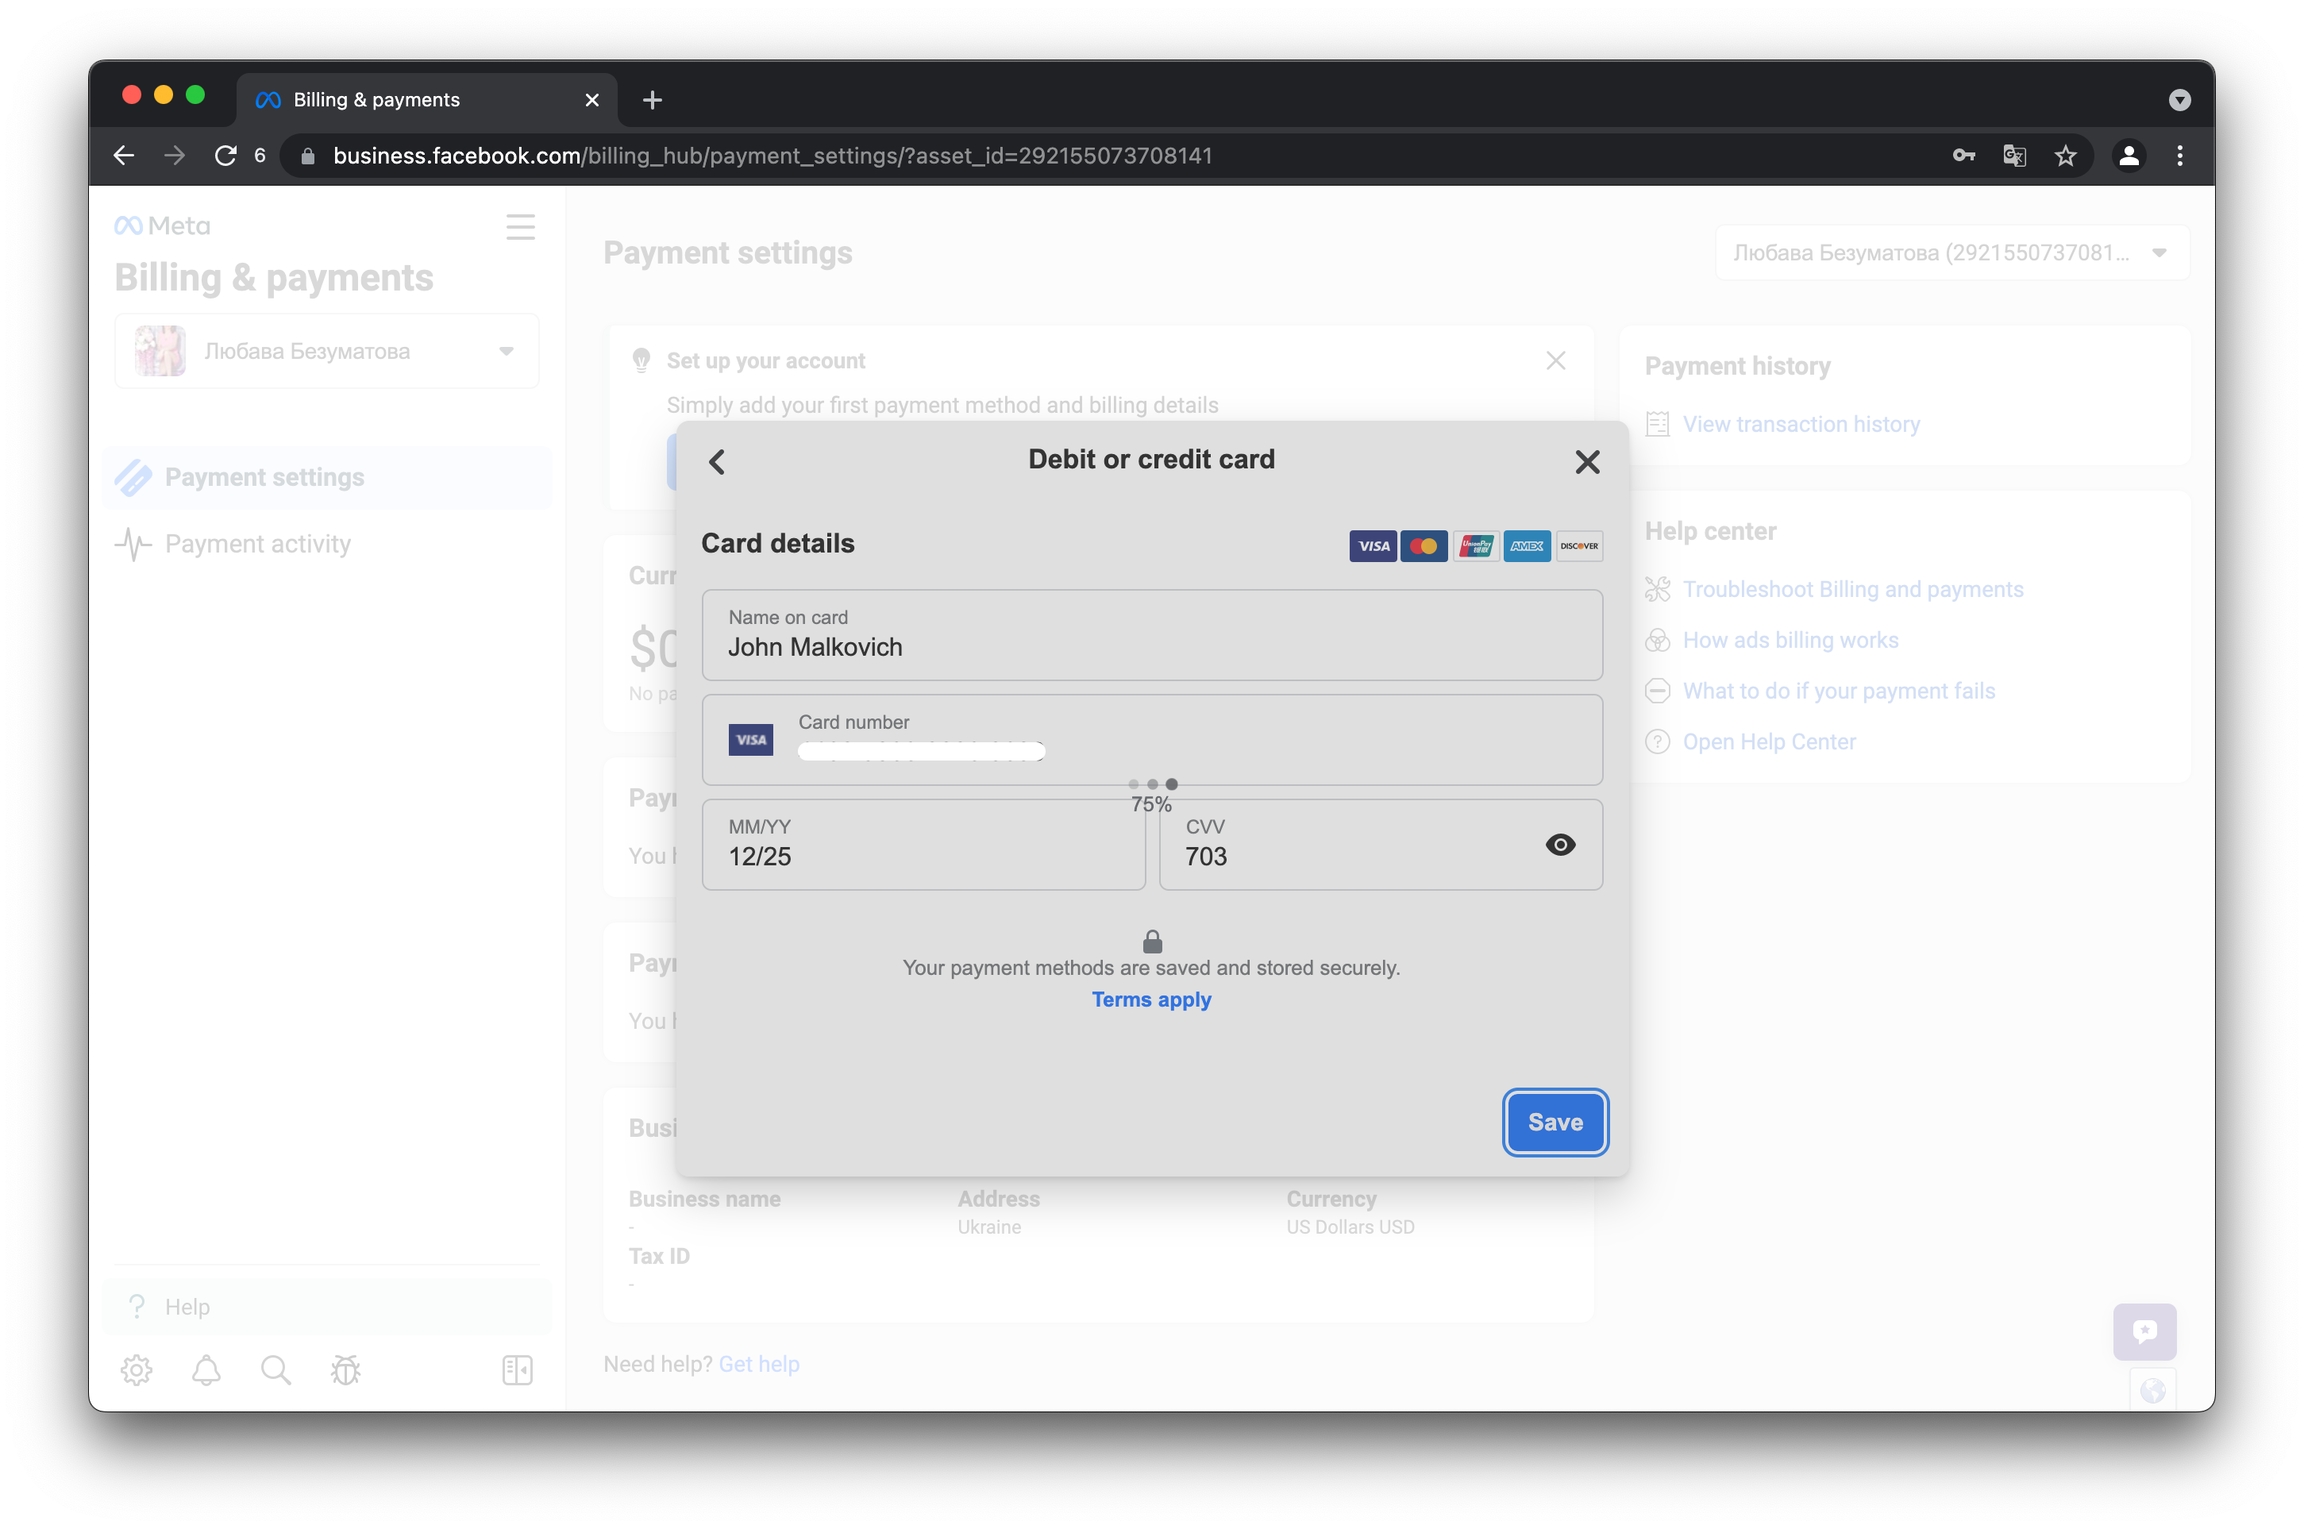
4) Enter the card number, date, and CVV and click "Save"
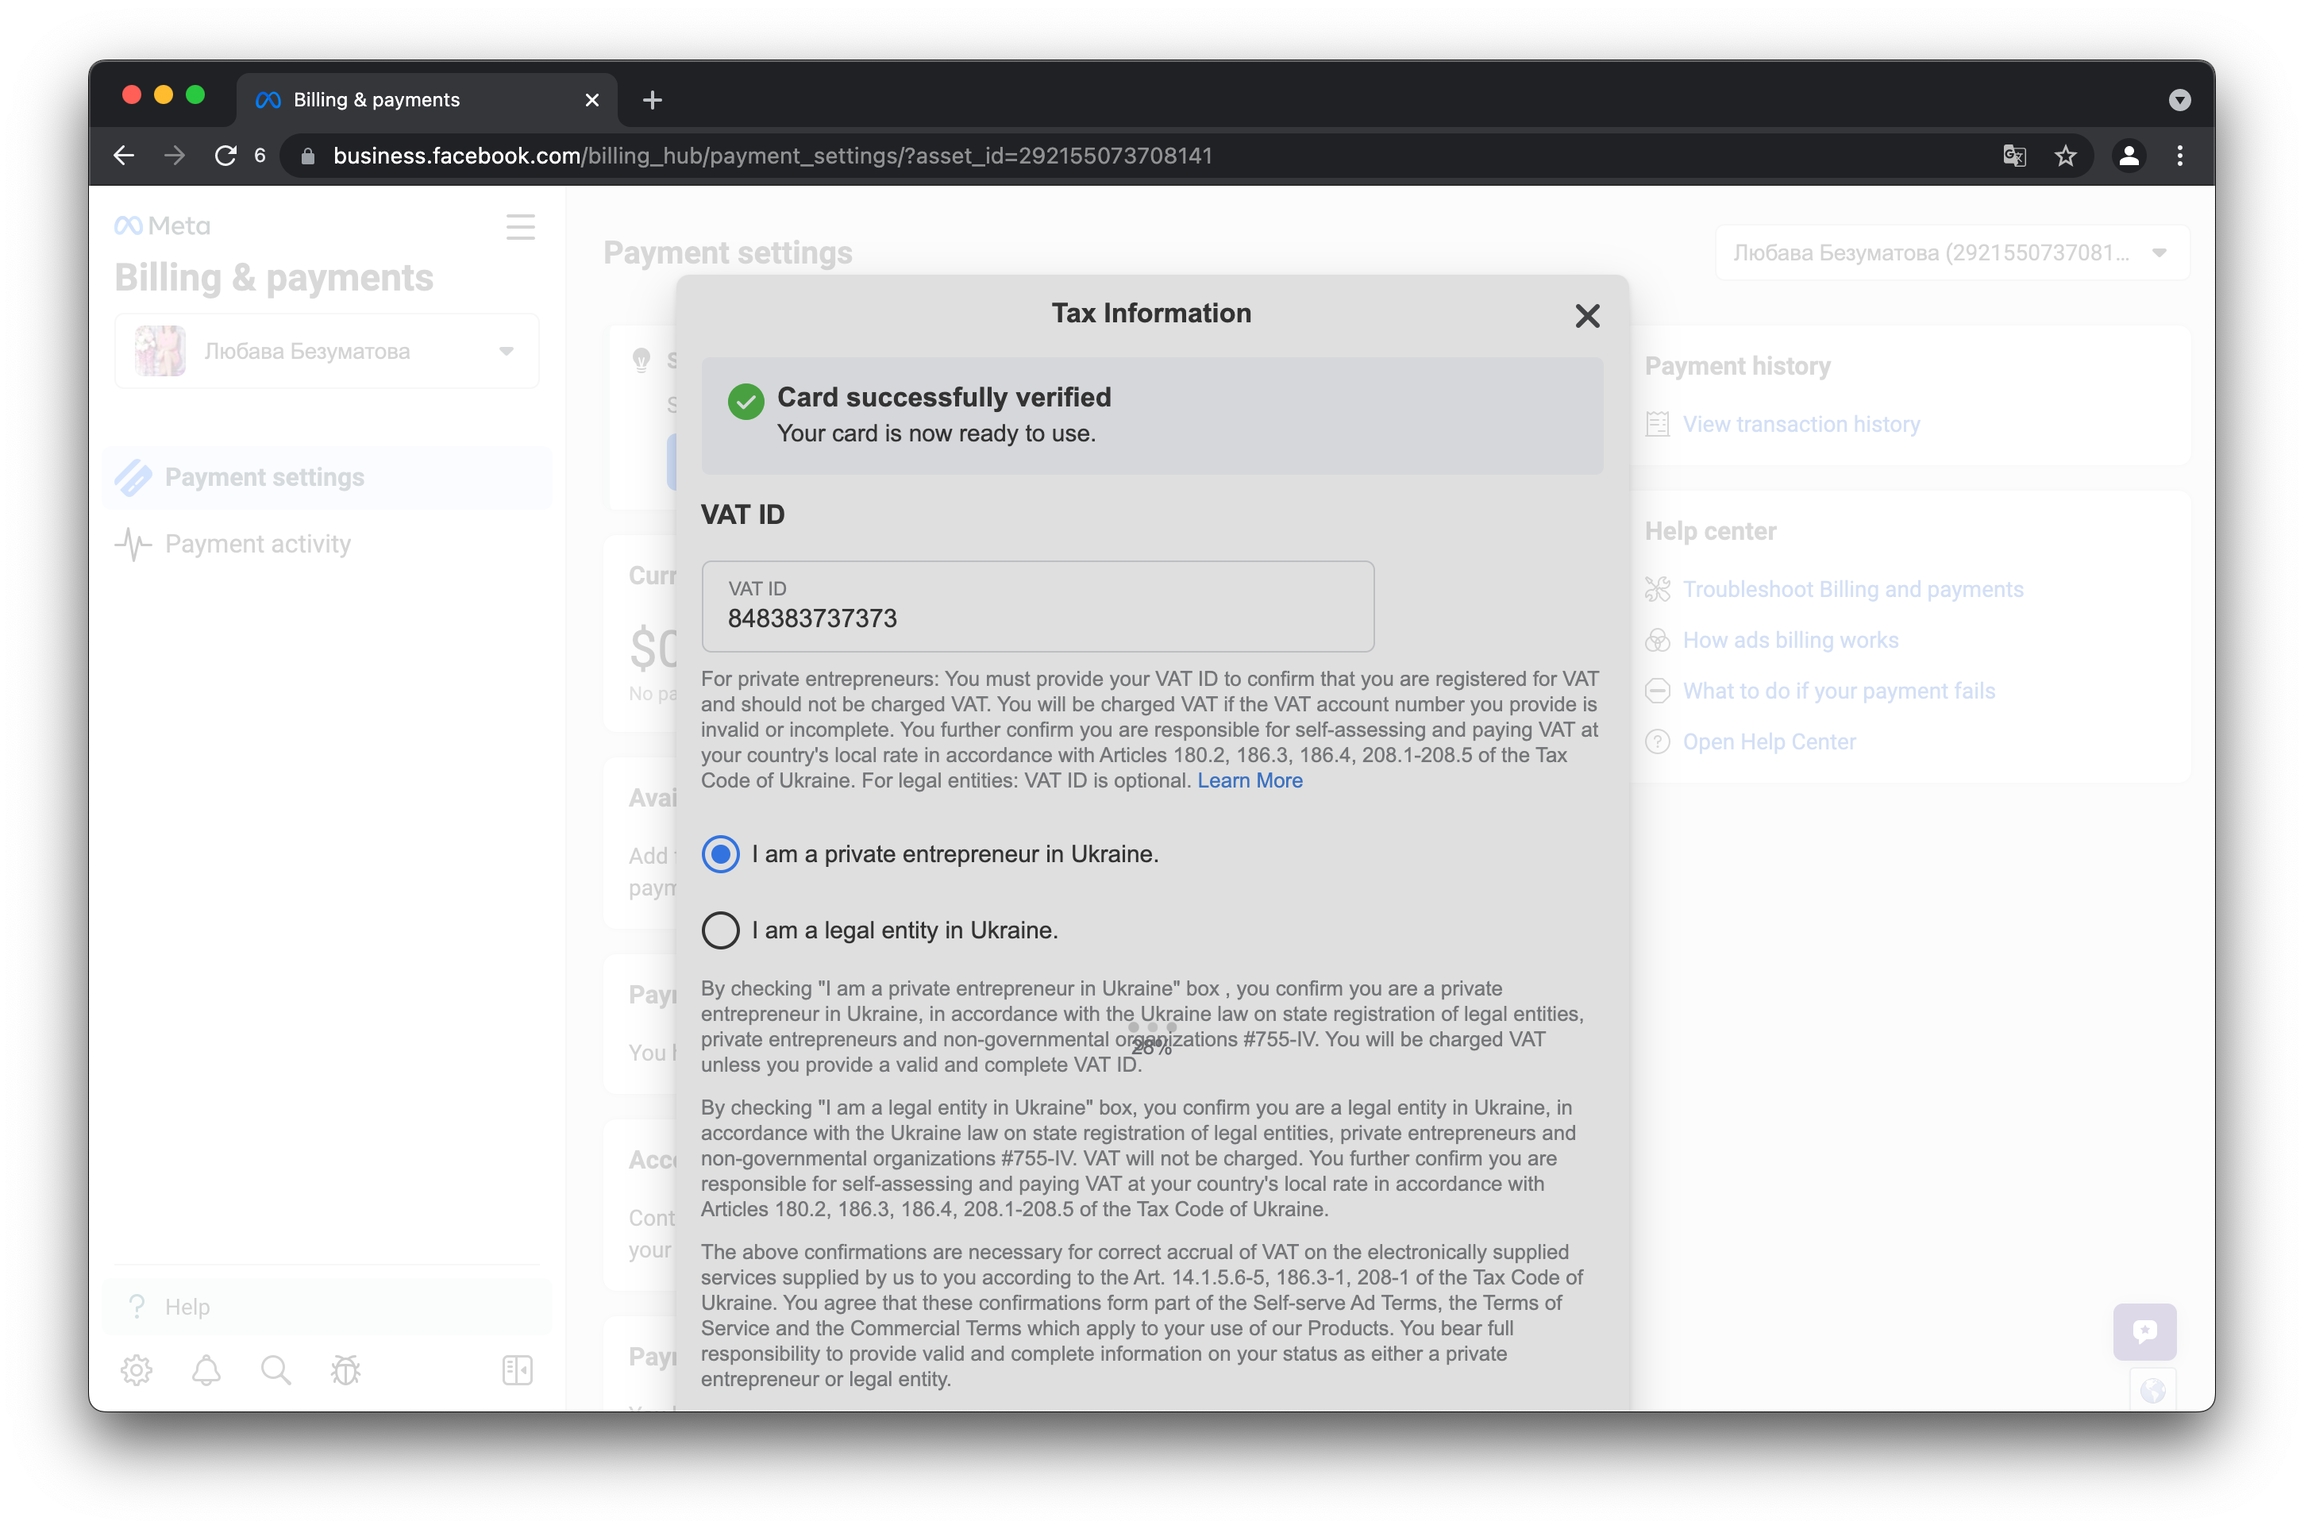
5) Complete 3DS authentication

3DS codes are sent to the section Codes, 3DS.

Copy the received code and paste it into the appropriate window inside FB.
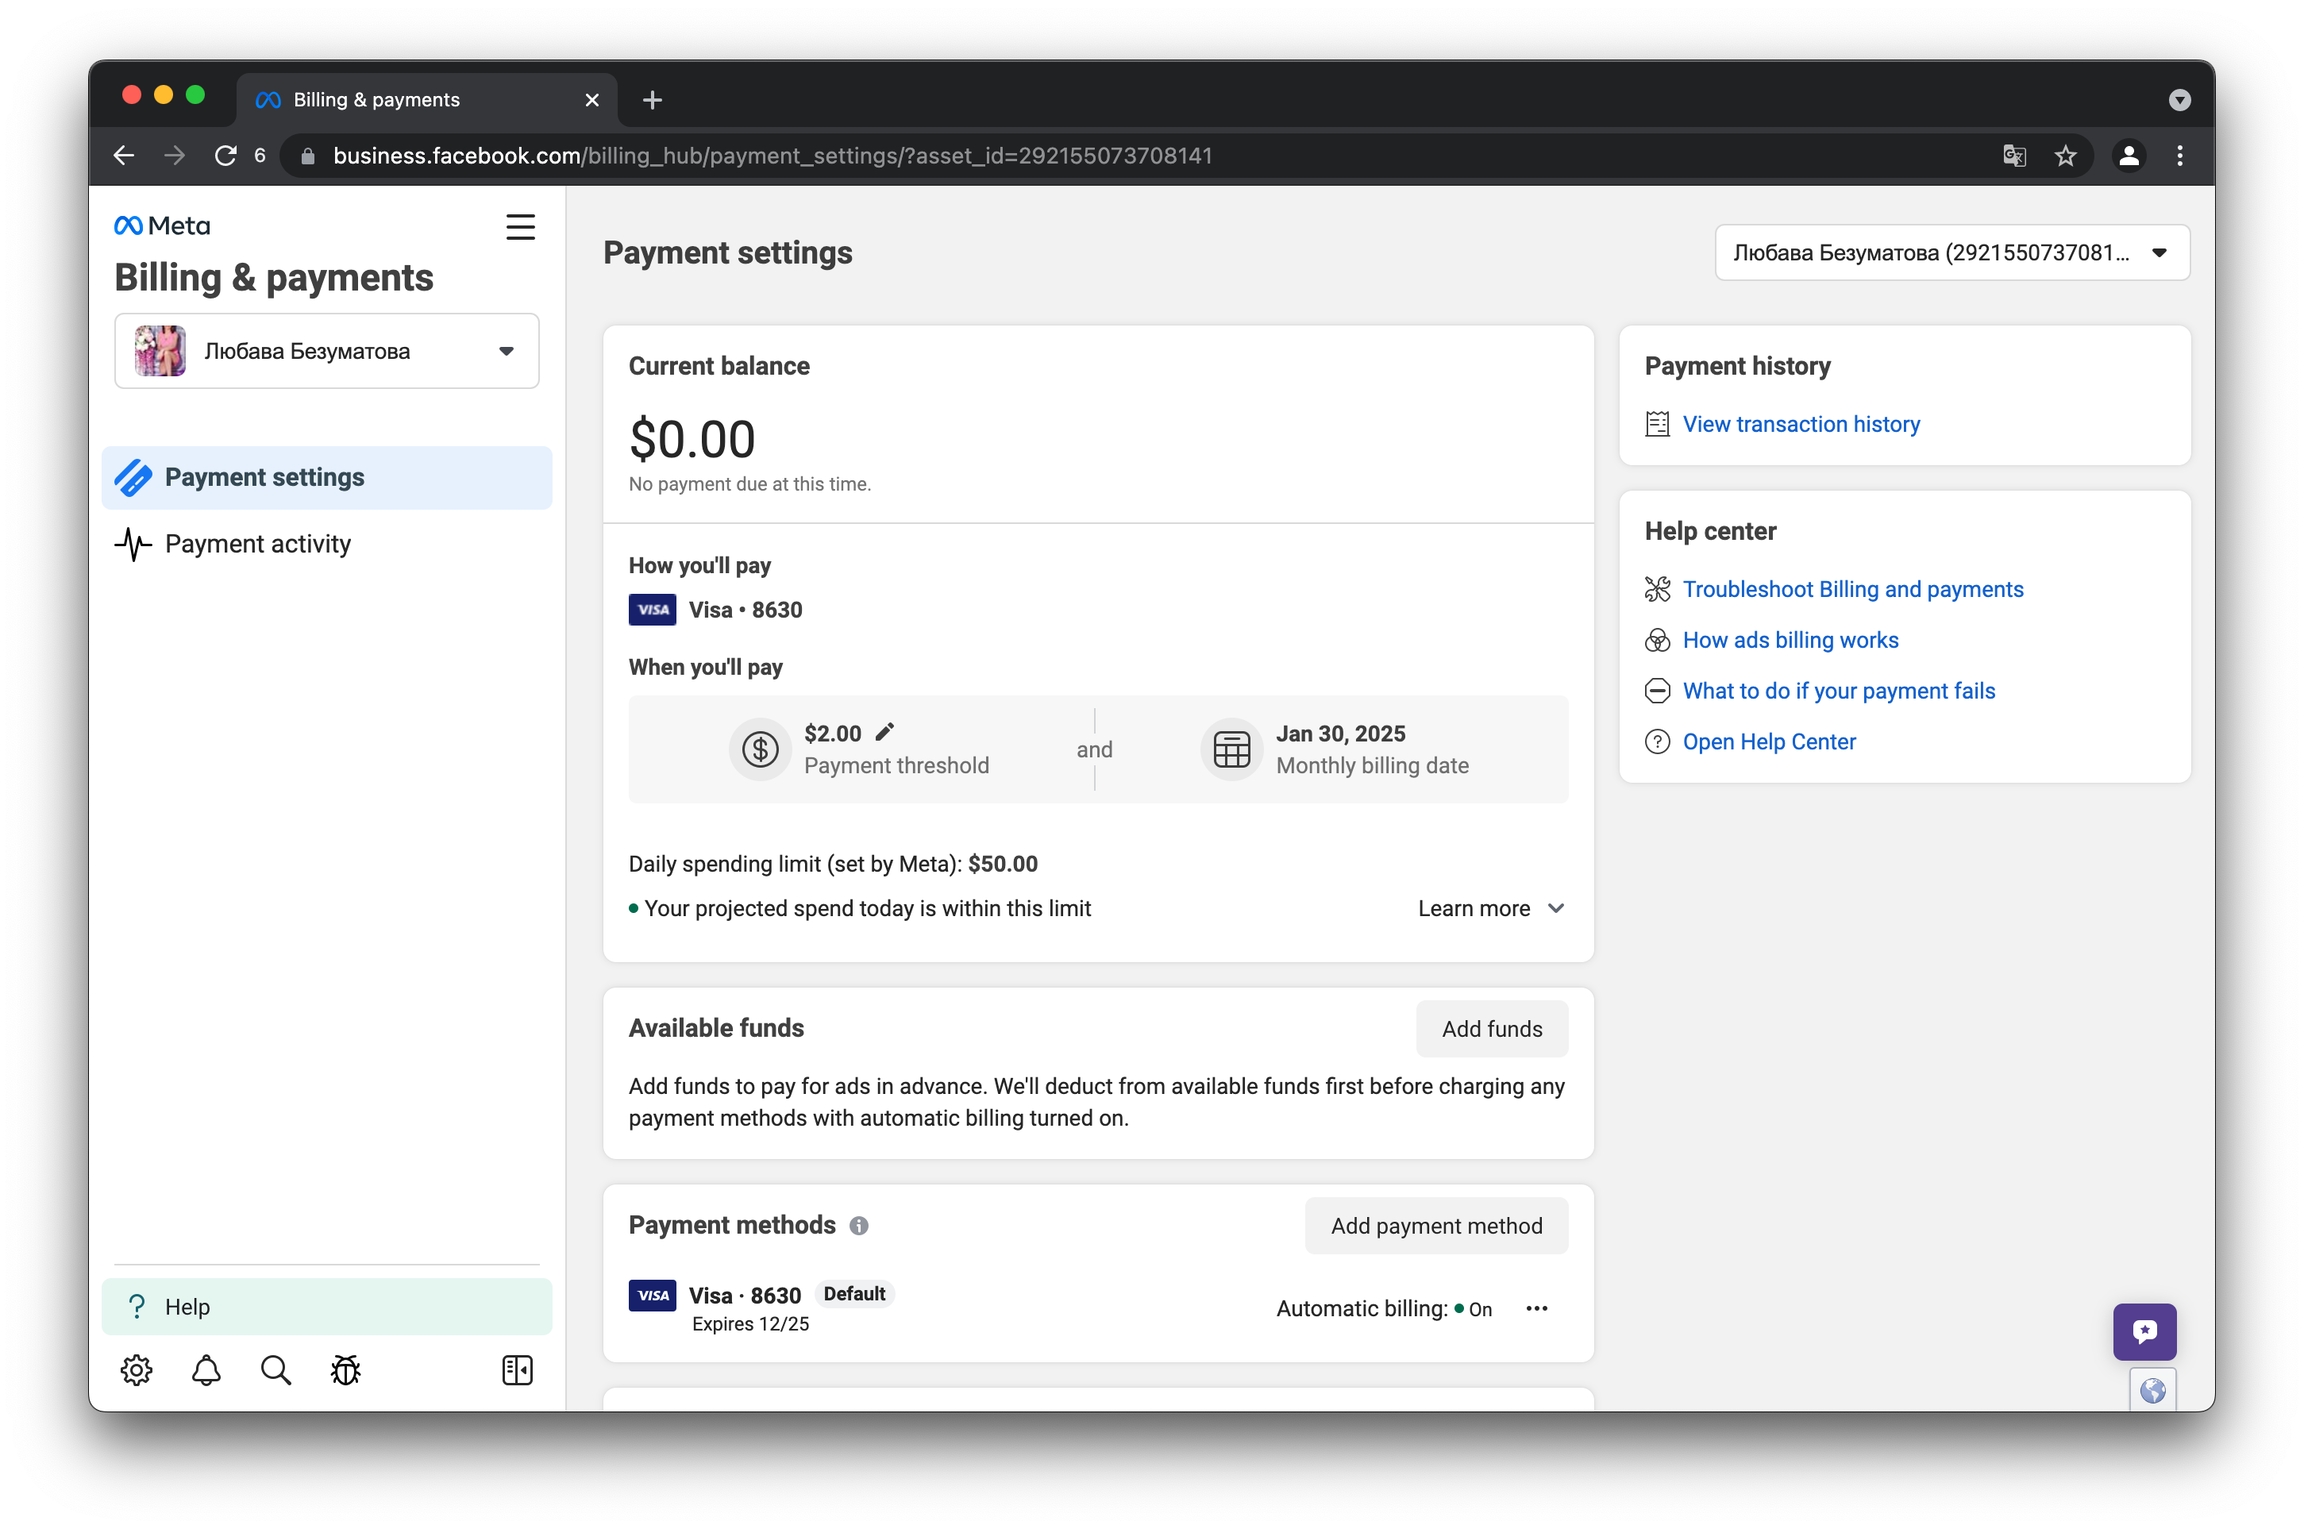
Done! Card is linked
The card was linked without any risks or problems.
Now you can safely pour traffic!
Last updated